

Blog
Why Your Front-Door Camera Records a Silhouette, Not a Face: WDR and Backlight Explained
Aug
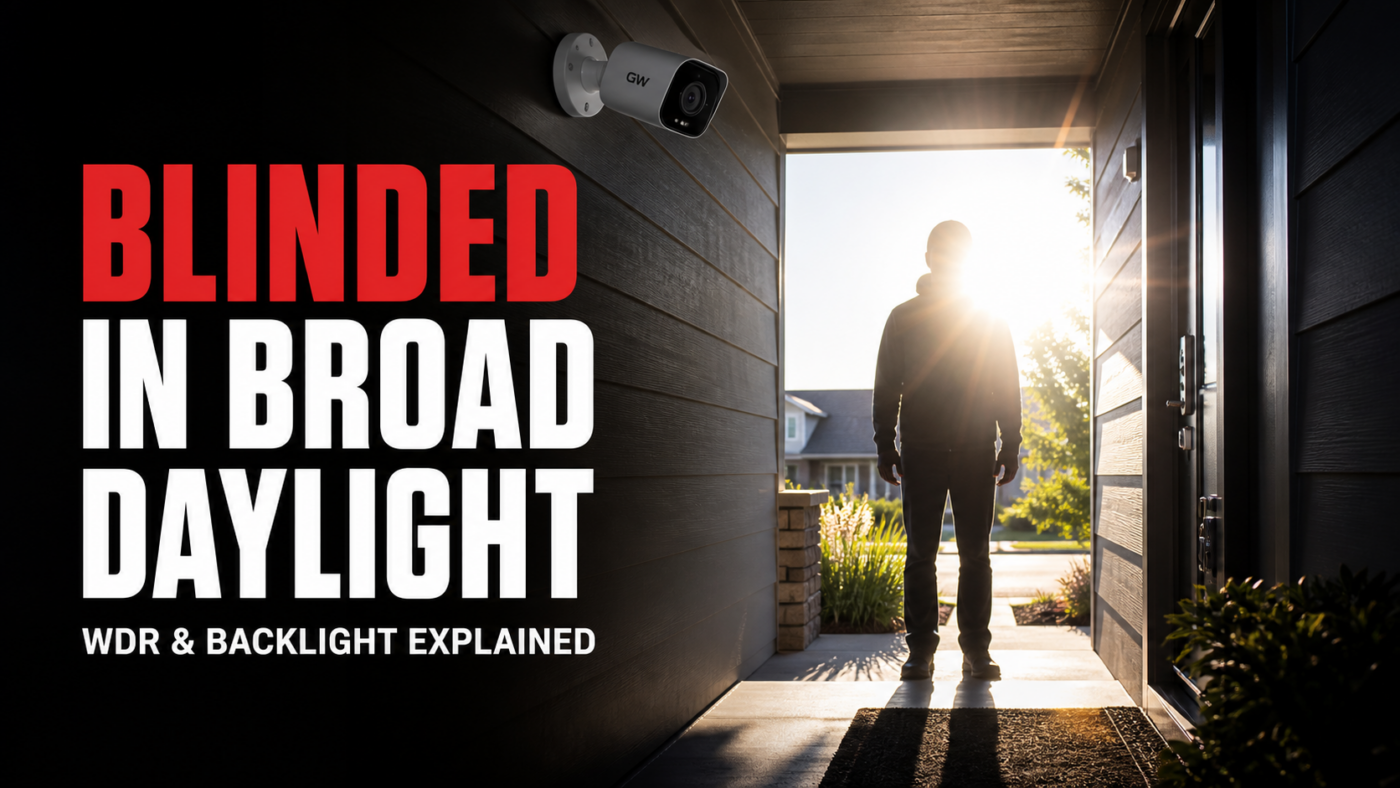
Everyone shopping for security cameras asks the same question: “how good is it at night?” Fair question. But pull up your own front-door footage from two o’clock on a sunny afternoon and you may find something embarrassing: the person standing at your door is a black cutout. Perfect focus, perfect framing, zero face — a silhouette shaped like a delivery driver, or shaped like the guy who knocked to check whether anyone was home.
Cameras don’t go blind in the dark nearly as often as people think. They go blind in contrast — a shaded porch against a sun-blasted street, a garage interior looking out at noon, a doorway with the sky behind it. And the spec that decides whether your camera survives those scenes is one most people have never looked up: WDR — wide dynamic range. Here’s what it actually does, the difference between real WDR and the software imitation, and how to fix the silhouette problem with the cameras you already own.
Why bright daylight defeats a camera that handles midnight fine
Dynamic range is the spread between the darkest and brightest things a camera can capture in the same frame. Your eyes are astonishingly good at this — you can stand in a dim garage and still see detail out in the sunlit driveway, because your eyes adapt regionally and your brain stitches it together. A camera sensor gets one exposure setting for the entire frame, every frame.
So when the scene contains both deep shade and full sun, the camera has to choose. Expose for the bright background, and everything in shadow crushes to black — that’s your silhouette. Expose for the shaded face, and the background blows out to a white void — now the person is visible but the car they walked away to is a glowing smear. Auto-exposure usually splits the difference and butchers both.
Notice what this means: the problem isn’t your resolution, and buying more of it won’t help. As we covered in the focal length guide, pixels only count when there’s detail landing on them — and a blown-out or crushed region of the frame contains no detail at any resolution. Eight million pixels of pure black is still pure black.
True WDR vs. DWDR: same acronym, very different camera
Manufacturers know buyers scan for the letters “WDR,” so nearly every spec sheet includes them. What matters is which of these three technologies is actually behind the label:
True WDR
Hardware · 120–140 dB
The sensor captures multiple exposures of each frame — one metered for shadows, one for highlights — and merges them. Faces in shade and sunlit backgrounds, both usable, at the same time.
DWDR
Software · single exposure
“Digital” WDR. One normal exposure with the shadows brightened by software. Helps mild contrast; in a real backlight scene it mostly turns black silhouettes into noisy gray ones.
BLC / HLC
Exposure tricks
Backlight compensation exposes for the subject and lets the background blow out. Highlight compensation masks bright sources like headlights. Blunt tools — useful, but they sacrifice part of the frame.
The tell is the dB number. True WDR is measured — 120 dB is the standard for a camera that genuinely handles harsh scenes, and premium sensors reach 140 dB. If the spec sheet says “WDR” with no number attached, or says “D-WDR” anywhere in the fine print, assume software. It’s the same spec-sheet pattern we flagged in the resolution guide: the honest sheets give you a measurable number, and the silences are informative.
The five places backlight ambushes home cameras
Contrast failures are predictable — they happen where a camera looks from dark toward bright, or straight into a light source:
- The front door. The single most important camera view on the property, and almost always a covered porch looking out at open sky and sunlit pavement. Textbook backlight, all day long.
- The garage, looking out. A camera inside the garage watching the driveway spends its life staring from a cave into daylight. Without true WDR, the interior is visible and the driveway is a white rectangle — or vice versa.
- East- and west-facing views. Any camera that catches the rising or setting sun gets an hour of flare and blown highlights daily — and those golden hours overlap with deliveries, commutes, and, as our daylight break-ins post covered, the workday window when most burglaries actually happen.
- Storefronts and lobbies. Glass doors with daylight behind every person who walks in. Retail cameras without true WDR record a parade of anonymous silhouettes at the exact spot identification matters most.
- Headlights at night. The nighttime cousin of the problem: a car pulls in and the whole frame blooms around two white orbs. This one is HLC’s job, and it’s also why night-vision specs alone don’t guarantee usable night footage.
Five fixes, starting with the free ones
- Turn WDR on — seriously, check. On many cameras and NVRs, WDR ships disabled or set to a weak default because it costs a little processing and adds a little noise. Open the image settings for each camera facing a harsh scene and check. This is the most common fix we walk customers through, and it takes two minutes.
- Re-aim before you replace. A small angle change breaks most backlight. Tilt the camera down a few degrees so it sees porch and person instead of porch and sky. Shift a driveway camera so the sun’s path stays out of frame. The best WDR is not needing it.
- Mount with the light, not against it. The classic rule from photography applies: keep the bright source behind the camera. A camera under the eave looking down at the door sees a lit face; a camera beside the door looking out sees a halo. When you’re planning positions, decide what the camera must identify, then make sure the light falls on that, not behind it.
- Balance the scene at night with lighting. A porch light doesn’t just help you — it raises the dark side of the contrast equation so the camera doesn’t have to fight headlights and streetlights alone. Cheap, and it upgrades every camera that sees it.
- Put true WDR where contrast lives. Not every position needs a 140 dB sensor. A camera watching a shaded backyard has an easy life. Spend the WDR budget on the door-facing, garage, and storefront positions — the same way the focal-length guide put the tight lens only on the chokepoint.
- “WDR” with no dB number. If it were true WDR, they’d say 120 dB — it’s a selling point. No number usually means digital.
- Judging by demo footage. Marketing clips are shot in flat, overcast, contrast-free light where every camera looks great. Ask to see a doorway shot at noon.
- “We’ll fix it in playback.” Brightening crushed shadows in an editor recovers noise, not faces. If the detail wasn’t captured, it doesn’t exist.
- Assuming 4K solves it. Dynamic range and resolution are independent specs. A 2MP camera with true 120 dB WDR will out-identify a 4K camera with DWDR at a backlit door, every time.
How to read a spec sheet for dynamic range
| What the sheet says | What it means | What to expect at a backlit door |
|---|---|---|
| WDR 140 dB | Premium multi-exposure sensor | Face and background both usable in the harshest scenes, including glass storefronts and garage-to-driveway views. |
| WDR 120 dB (“true WDR”) | The real thing, standard grade | Handles the covered porch, the backlit doorway, the low sun. The spec to look for on every door-facing camera. |
| DWDR / D-WDR / “digital WDR” | Software shadow-brightening | Fine for mild contrast. In real backlight, silhouettes become gray and grainy instead of black — still not a face. |
| “WDR” with no number | Unspecified — assume digital | Treat it as DWDR until the manufacturer proves otherwise. |
| BLC / HLC listed | Exposure-compensation modes | Useful extras — HLC especially for headlights — but they trade away part of the frame rather than capturing all of it. |
The two-minute test to run this week
Pick the sunniest hour of the day and have someone stand at your front door, back to the sun, while you watch the live view. Freeze the frame. Can you see their face — not their outline, their face? Now run the same test on the garage view and any camera that faces east or west.
If any of them shows you a silhouette, work the list above in order: settings, angle, lighting. And if the camera at your most important view turns out to be running digital WDR against a scene that needs the real thing, that’s the one position on the property where a hardware upgrade pays for itself — because the front door is where faces happen.
Not sure if your camera has true WDR?
Tell us the model and describe the scene — our U.S.-based team will tell you what it has, what to enable, and whether the position needs more. Real phone calls, no wait tree.
Get cameras matched to your toughest light
True-WDR cameras for the backlit spots, standard cameras where the light is easy, and the NVR to run them — matched to your property in six questions. 60 seconds, no email required.
